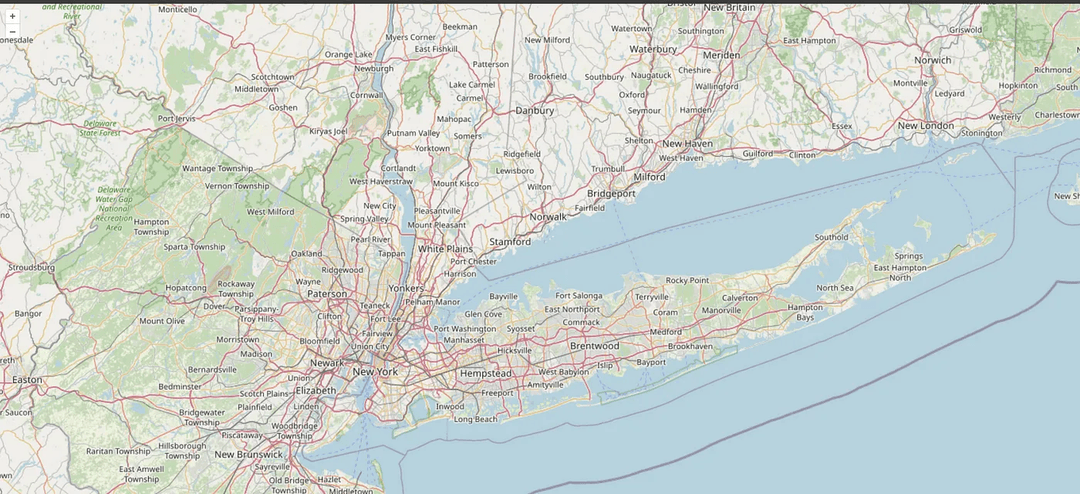
How to add a map to your NextJS SaaS application using OpenLayersLearn how to add a map to a NextJS react application using OpenLayers.

Maps look great — I’m sure many of you would agree. There’s something endlessly fascinating about looking at maps. Maps are also a great addition to many different types of SaaS software — real estate, drone flight planning, IoT monitoring systems — the list goes on.
In this article I’ll show you how to add a basic map to a NextJs application using OpenLayers, an open source mapping library with loads of cool features to explore beyond what is shown here. The actual map data (the image tiles shown on the screen) will come from OpenStreetMap.
Step 1: create a NextJs app
Create a basic NextJs app using the following command — go with all the defaults.
npx create-next-app@latest nextjs-ol
Change directory into the new project, then install open layers:
npm i ol
Step 2: create a map component
Next step is to create a component for displaying the map that we can use inside our application. I like to create a components directory in the top level of the project for this but it can go wherever. The map component needs this code:
components/map.tsx
"use client";

import { View } from "ol";
import TileLayer from "ol/layer/Tile";
import { OSM } from "ol/source";
import React, { useEffect } from "react";
import { Map as OlMap } from "ol";

function Map() {
  useEffect(() => {
    const osmLayer = new TileLayer({
      source: new OSM(),
    });

    const map = new OlMap({
      target: "map-container",
      layers: [osmLayer],
      view: new View({
        center: [0, 0],
        zoom: 0,
      }),
    });

    return () => map.setTarget(null!);
  }, []);

  return <div className="h-screen w-screen" id="map-container" />;
}

export default Map;
A few points of explanation:
- The component must have “use client” at the top as the code runs client side and we need to use the useEffect hook.
- The map object is created inside a useEffect hook to ensure it runs client side and after the target div has been rendered
- The target property passed to the map object is the ID of the div in which the map is to be rendered. If you use the inspect tool to view this div when the app is running, you will see that OpenLayers has placed a bunch of HTML inside this div, including a canvas element for rendering the map’s layers.
- The useEffect hook returns a function that will be run when the component is removed from the DOM. In this case it sets the target of the map to null to ensure resources are freed up.
- A basic OpenLayers map comprises of an array of layers objects, each of which has a source object. In this case we just have one TileLayer, with an OSM (OpenStreetMap) source — once the map is up and running you can look in the network tab of your browser and see how behind the scenes it’s loading in lots of PNG image tiles.
Step 3: use the Map component in your application
Simple — just place the map component on the index page. If you’ve followed along from step 1 you’ll need to delete all the TSX inside the page.ts file and replace it with just the Map component:
app/page.tsx
import Map from "../components/Map";

export default function Home() {
  return <Map />;
}
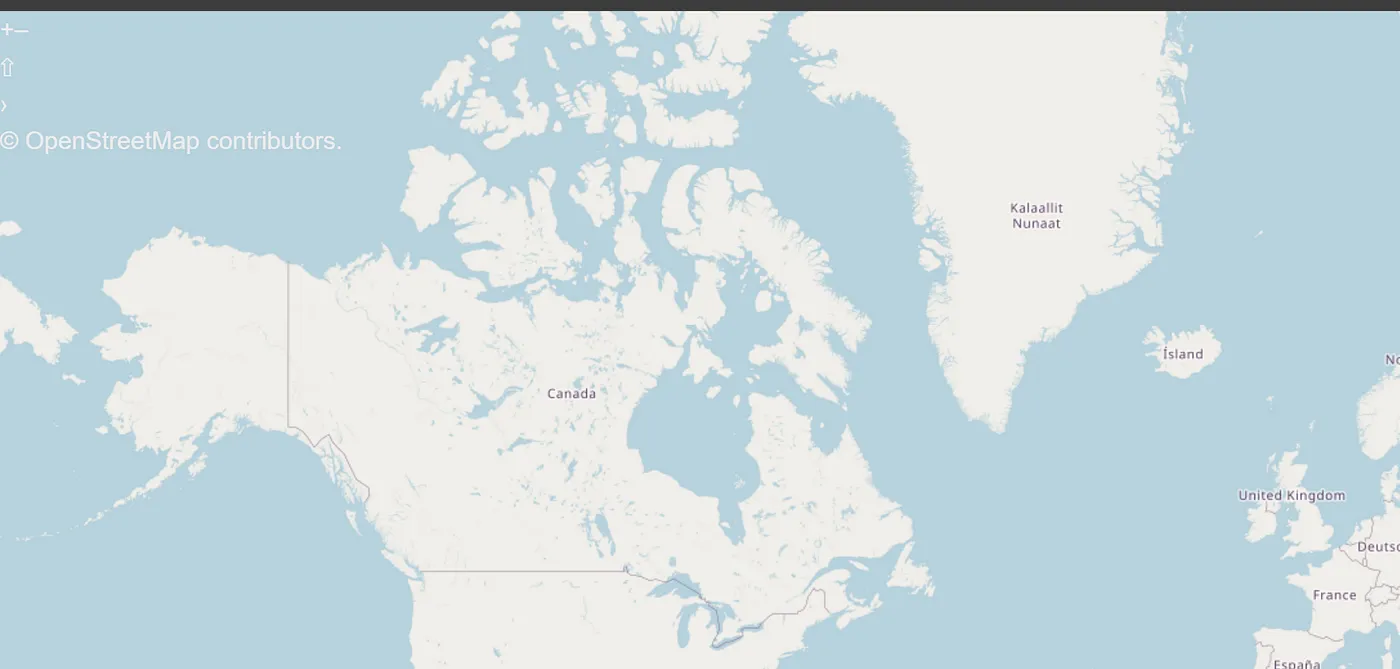
If you save those changes and run the application, you should be able to load it up on localhost:3000 and view your majestic map:

Although…things look a bit odd in the top right corner. The fix for that is simple — import the OpenLayers CSS file in the top level layout component:
app/layout.tsx
import "ol/ol.css";
That should result in things looking better — with zooming tools and the OpenStreetMap attribution where they're supposed to be.
Now its up to you to add what you need — different layers such as satellite imagery layers, or vector layers to display different shapes or boundaries on the map. Different interactions such as shape drawing tools or popup overlays etc. — go check out the OpenLayers examples documentation for inspiration and guidance.
Thanks for reading, I hope it’s been helpful! As a reminder, all views I express here are my own and do not necessarily reflect those of my employer (or anyone else for that matter).